Making an inside stitched bag
The approach to stitching an "in" seam bag is nearly identical to that of a regular bag.
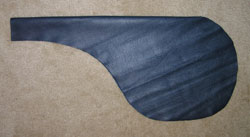
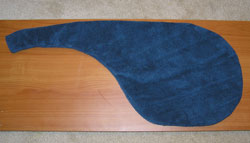
Start with both the bag cutout and a strip of leather long enough to run the length of the seam. Always inspect the leather for pinholes or other irregularities.
|
|
Fold
Fold the workpiece in half such that the shiny side is on the outside. |
|
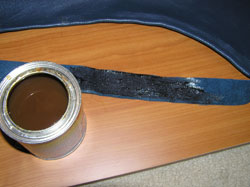
Gluing the strip
Apply glue to the suede side of the strip and fold the strip evenly and tightly around the seam of the bag. Do so in short sections for better control and so that the glue doesn't dry out midway. |
|
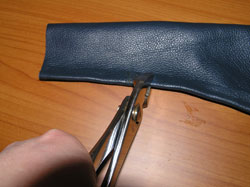
Securing the strip
Press in the glue with a pair of pliers so that it penetrates deep into the seam. |
|
Let the glue settle
After I have glued a section of the strip, I allow tthe glue to set before proceeding on to the next section. This helps prevent the strip from sliding out of place while the glue is still wet. |
|
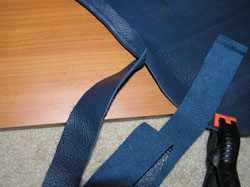
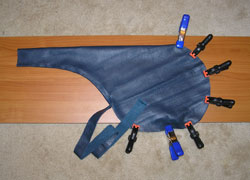
Clamps
I like to clamp the unglued portion of the bag in place so that the two halves don't shift as I work. |
|
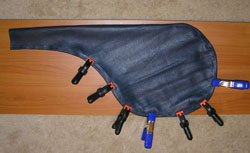
More clamps
Once the strip is fully glued, I use the clamps at regular intervals to better press in the glue. |
|
Spacer Tool
As described in the other bag making demo, I use this tool to evenly space out the position of each hole so to create a uniform stitch. I use a wheel that sets 6 holes per inch. |
|
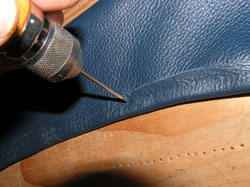
Awl
I then proceed with an awl to punch the holes. Always try to keep the holes as small as possible. |
|
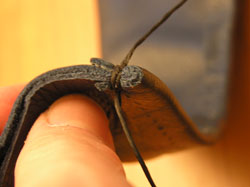
First stitch
The same principle as discussed in the other bag making demo is applied here. Start with a long enough piece of waxed artificial sinew and insert 2 needles, one at each end. Push one of the needles in through the first hole, only this time, start at the neck of the bag. Pull the sinew through until it is centered with an equal length on both sides. |
|
Starting knot
Wrap the sinew twice around the end of the bag as shown here. You will need to go through the same hole a couple of times. Continue stitching along the bag using a saddle stitch pattern as discussed in the other demo. End with a double-stitch similar to the one used at the start and secure everything with a few final knots to stop the sinew from slipping loose. |
|
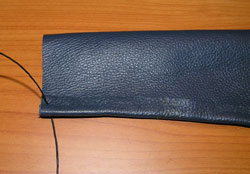
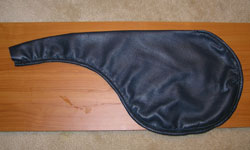
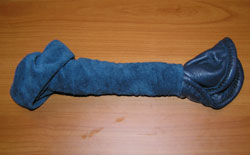
Stitched bag
The bag should looksomething like this once the stitching is complete. |
|
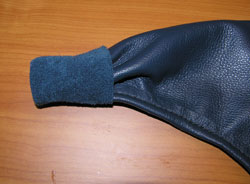
Turning the bag inside out
This requires some patience and usually involves a good finger workout. |
|
Half way |
|
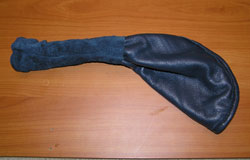
Final squeeze
|
|
A finished bag
|
|